Metal Roof W Valley Installation

Sw Valley On House Gazebo Roof Modern Farmhouse Exterior House Roof

Pin On Metal Roofing

Design Dump Roofing Choices Metal Roof Installation Standing Seam Metal Roof Residential Roofing

Dallas Roofing Company Bert Roofing Dallas Roofing Contractor Roof Repair Composition Roof Roofing Roof Architecture

Image Result For New Asphalt Roof With Metal Valleys Asphalt Roof Roof Garden Tools

How To Install A Metal Roof Valley For Union S Masterrib Panel Metal Roof Roof Installation Metal Roofing Systems

Install synthetic roofing underlayment or felt paper according to manufacturer specifications and then install the first piece of valley flashing.
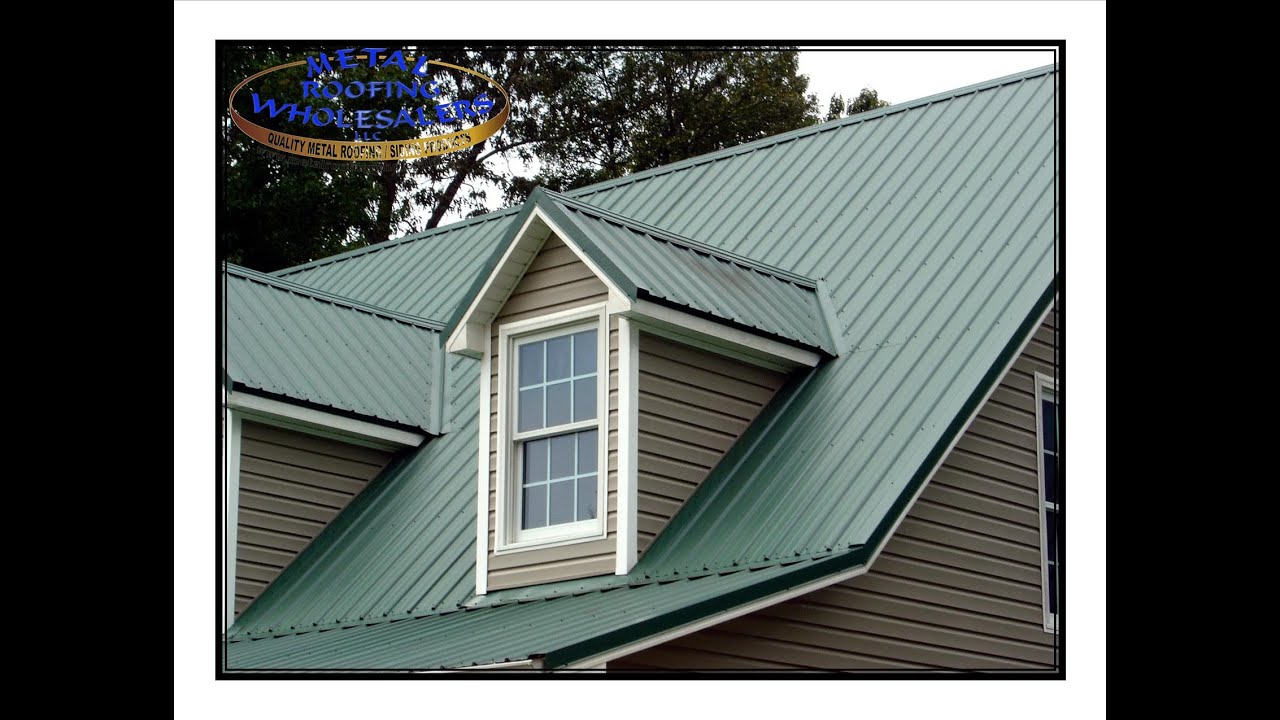
Metal roof w valley installation. Recommended procedures of basic valley flashing installation. W type valley flashing is more rigid for handling so it stays straight and it stops waler rushing down one side of a roof from rushing back up the other side. How to seal metal roof valley. Snap a chalkline 2 to 3 inches past the valley center on the top layer of shingles.
Then install a non corrosive metal valley flashing of 24 minimum width. Roof one side of the valley running the shingles across it. Low slope roofs slope less than 3 12 use tape sealant between the valley trim and the panel. Best practices for sealing the metal roof valley vary based on the slope of the roof.
Starting at the bottom fasten w valley trim flashing to purlins or substrate using 1 1 4 roofing nails 1 from trim edge every 24 on center. Stop nailing 6 inches from the center. Shingle the other side of the valley the same way. Allow w valley trim flashing to overhang roof edge so it can be trimmed back flush with roof overhang.
Lap successive sheets of metal flashing a minimum of 12 inches and seal laps.

Dormer Valley Amazing P Installing Metal Roofing Around Dormers Big Metal Roof Panels Metal Roof Panels Metal Roof Installation Metal Roof

Interlock Standing Seam Roof Deep Charcoal Hip Valley Ridge Caps In 2020 Metal Roof Houses Standing Seam Metal Roof Metal Roof

Pin On Exterior Paint And Roof Ideas

How To Flash Metal Roofing Systems Valley Installation Metal Roofing Systems Metal Roof Roofing Systems

Metal Roof Valley Roof Design Glass Roof Roof Architecture

Subsequently Building A Supplementary House Or Retrofitting An Existing One Choosing The Right Type Of Roof Can Be Mo Diy Metal Roof Roofing Roof Installation

Pin On Ideas For The House

Proper Metal Roof Installation The Right Stuff Classic Metal Roofs Llc Metal Roof Metal Roof Installation Roof Cladding

Pin On Roof
Pin On Front Porch

How To Install Metal Roofing Metal Roof Installation Diy Metal Roof Metal Roof

Install Patented Metal Roofing Fairfax Va In 2020 Roofing Metal Roof Roof Repair

Slate Roofing Closed Shingle Valley Vs Copper Valley Slate Roofing Closed Shingle Valley Vs Copper Valley Youtube Memp Slate Roof Roofing Slate Roof Cost

